How to start with winter backpacking: Backcountry Camping in the Vancouver Area
BACKPACKING
Jan
11/18/20245 min read
Are you excited about winter backpacking? Not sure how different this activity is and what to be aware of? Or did you just get yourself some new winter gear and can't wait to test it out but don't know where to go and stay relatively safe? If you’re unsure where to start, I might have an idea for you.
I’m asking these questions because they’re important to consider before venturing into harsh winter environments, especially if you’re planning to spend a night outdoors. But don’t worry! If you’re in the Vancouver area, there’s a perfect spot to try it out!
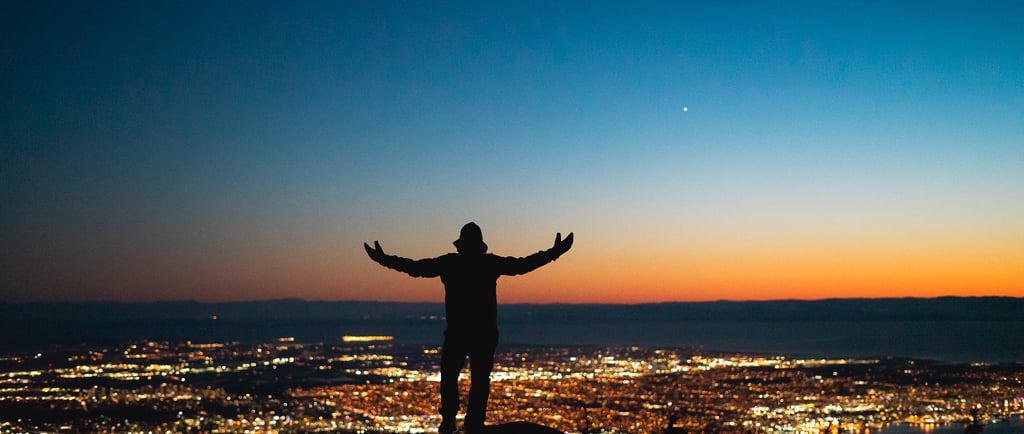
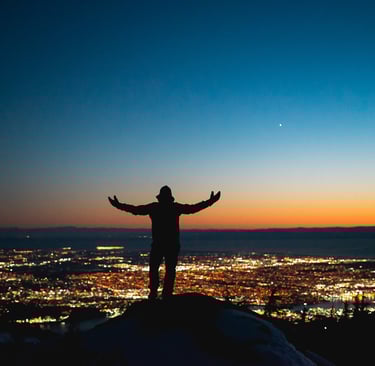
You want to stay relatively safe, right? Oh, and a nice sunset view would be a bonus too? With that in mind, we’ve narrowed your options to the three North Shore Mountains close to Vancouver: Mount Seymour, Grouse Mountain, and Cypress Mountain.
Which one do you think will be the best choice for you? If you answered Mount Seymour, you’re right!
Why is "Pump peak" in Mount Seymour park the best choice?
The most important reason is the beginner-friendly terrain. It has a relatively low avalanche risk compared to, say, Cypress’ Black Mountain Plateau. Seymour’s trails have a gradual elevation gain, are well-marked, and feel less steep and challenging than the other two.
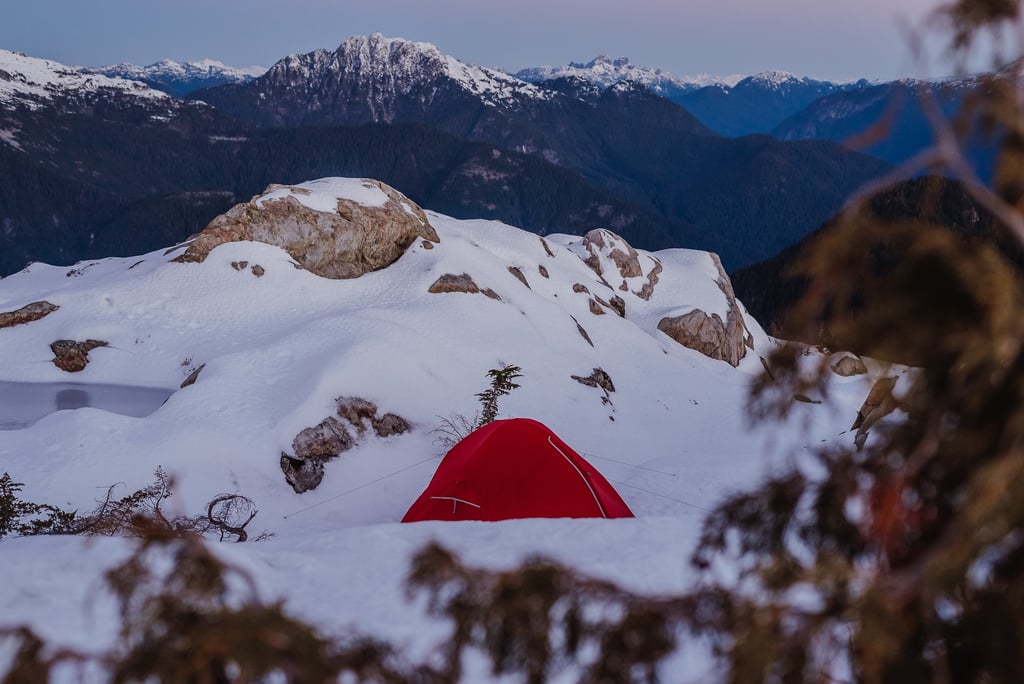
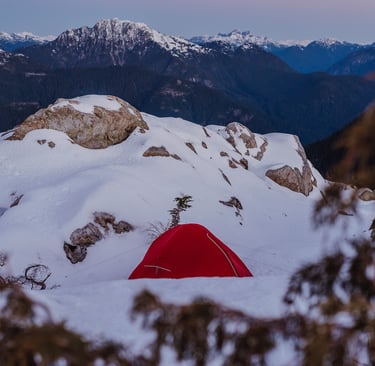
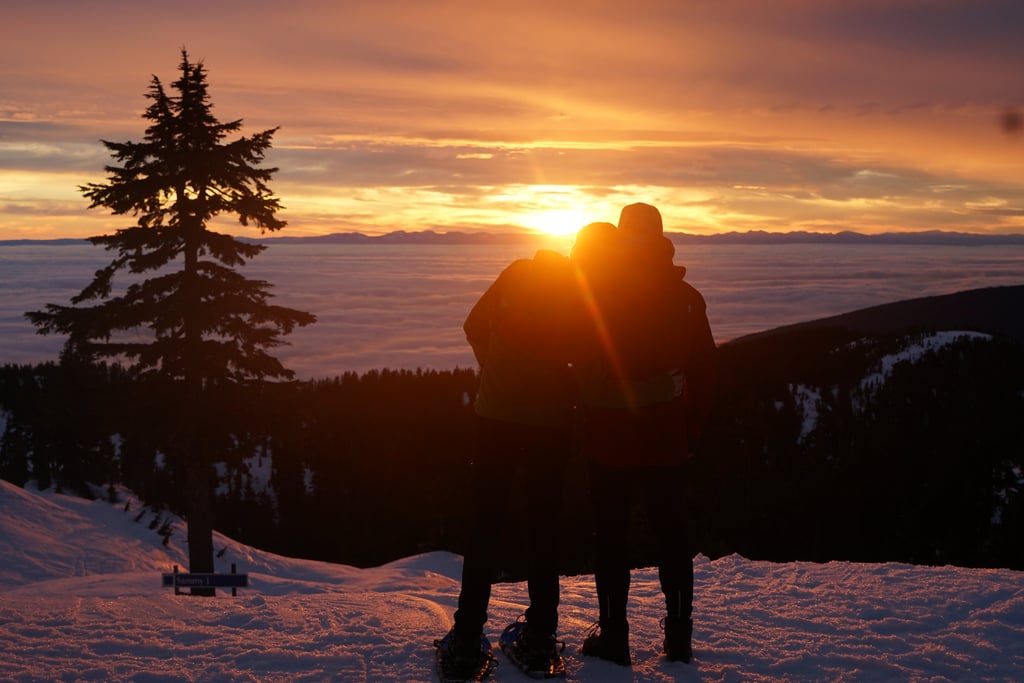
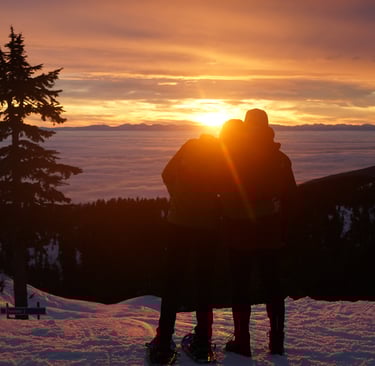
Pump Peak offers amazing views of Burrard Inlet and the surrounding mountains. The terrain feels more expansive and pristine, giving you a true winter wilderness vibe. Plus, it’s much easier to find flat camping areas, especially around Pump Peak and Brockton Point.
Unlike Grouse, which is a privately owned ski resort that doesn’t allow camping within its boundaries, Seymour is free to explore. And if you were thinking of Grouse, you’d need to head to Crown Mountain or Goat Mountain, which are more challenging.
Stats & Info:
Difficulty: Moderate
Distance: 6.6 km
Elevation Gain: 476 m
Activities: Snowshoeing, Ski Touring, Hiking
Permit Required: Yes (in winter)
4x4 Vehicle Required: No
Winter Tires: Required
Trailhead Coordinates: 49°22’03.6″N 122°56’57.1″W
Permit & Parking
Before venturing out, overnight visitors to Mount Seymour need a day-use pass for their day of arrival only, that you cab book here Day-use passes - Province of British Columbia | BC Parks . You must park in the designated overnight parking lot P1, as shown on the Mount Seymour Parking Map. This is crucial for overnight stays.
It is mandatory to have winter tires on your vehicle during the winter season. Attempting the trip with summer tires is not only dangerous but also prohibited for good reason.
When parking overnight, Mt. Seymour Resorts Ltd. requires you to leave emergency contact information visible on your vehicle dashboard. This should include your departure time, expected return time, and a contact number.
Access and Trail Directions
From the parking lot, cross the upper parking lot and follow the trail that begins at the park kiosk. The trail is well-marked with poles, and you should use a trail map to navigate safely. The route takes you up to Brockton Point.
To minimize exposure to avalanche risk, make sure to follow the trail and go around and approach to the final ascent to the Pump Peak from the East. And do not forget to check current avalanche conditions on avalanche.ca before your trip. If you’re satisfied with the views at Brockton Point, you can set up your campsite there. However, camping is only allowed beyond Brockton Point, so ensure you’ve passed it before setting up your base.
Additional Tips
Crowds: Mount Seymour is a popular destination year-round, so expect to see snowshoers, hikers, and ski tourers, especially on weekends. Many visitors stay for sunset or hike up for sunrise, so don’t be surprised if you have some company.
Campfires: Campfires are not allowed. Bring a camp stove for cooking instead.
Fees: There are no fees for wilderness camping in this area.
Disclaimer: Winter hiking involves significantly higher risks than summer hiking, such as extreme weather, icy trails, and avalanches, which can lead to serious dangers like getting lost, frostbite, or worse without proper gear or preparation. While this blog aims to answer common questions and inform you about the hazards and risks that must be considered, it is essential to do your own research, evaluate conditions, pack appropriately, understand avalanche risks, and know your limits.
Your safety is your responsibility.
Safety
Winter hiking and backpacking come with increased risks and hazards, so careful preparation and seasonal awareness are essential. Research the weather conditions, check avalanche ratings on avalanche.ca, and review trail reports before heading out.
Pack all the essential gear: insulated layers, waterproof boots, gloves, hats, gaiters, and snowshoes or microspikes for traction. Always carry emergency supplies like a headlamp, extra clothing, food, a first aid kit, and other essentials. If you're using your phone for navigation, pack an extra power bank, as cold weather can drain batteries much faster.
If your route crosses avalanche terrain, bring a transceiver, probe, and shovel, and ensure you know how to use them. Consider taking an Avalanche Skills Training (AST) course to enhance your safety knowledge.
Winter hiking is more physically demanding than summer hiking, so know your limits and choose a trail suitable for your experience level. Lastly leave no trace, enjoy your time and the incredible views!
When You Think You’re Ready
We’ve spent a couple of winter nights in the Mount Seymour area, and let’s just say we learned the hard way that planning ahead is crucial—even when you’re close to the city. And honestly, that’s part of what makes the North Shore Mountains deceptively dangerous. Every year, North Shore Rescue gets calls from hikers dealing with exhaustion, confusion, or worse. It’s fantastic that these volunteers are there to help, but wouldn’t it be better to avoid needing them in the first place?
Here’s what we learned from two memorable (and chilly) overnight adventures.
First Night: October Aurora Dreams
Our first winter camping experience happened in late October. We made a last-minute decision (classic us) to chase an aurora alert, packed our gear, and headed to Mount Seymour for an overnight campout. The hike itself was fine, but we slightly underestimated the conditions. A fresh snowfall from the week before? Successfully ignored it, searching for clear sky, because “aurora!”
There was already couple of inches snow, and while our down sleeping bags were warm, the cold creeping up from below us was unforgiving. Minus six degrees Celsius outside, and despite our sleeping bags rated for -17°C and -21°C, it wasn’t enough. Spoiler alert: there’s a reason those temperature ratings have the word limit in them!
And guess what? No aurora that night either. 😅
The real lesson? A good sleeping mat is just as important as your sleeping bag when camping in winter. Despite the freezing night, we woke up to a breathtaking sunrise, which almost made up for the sleepless night.
Second Night: May Redemption
Fast forward to the following year. Armed with insulated sleeping mats and our previous experience, we decided to try winter backpacking again—this time in late May at Pump Peak. What a difference! The temperature hovered around 0°C, and we were much more comfortable.
But there’s always room for improvement. For example: gaiters. Why didn’t I put them on before trudging through slushy snow and getting soaked? Rookie move. At least I had a second pair of socks with me. (Pro tip: always pack a spare pair of socks. Your feet will thank you.)
Takeaways
These experiences taught us that even “close-to-the-city” adventures need proper planning. Gear is only helpful if you actually use it properly, and paying attention to weather and terrain is non-negotiable.
Mount Seymour may feel like your backyard, but it deserves respect. Plan ahead, pack smart, and if you’re chasing the northern lights or sunsets in shoulder season... maybe double-check the snow conditions first! 😊
About the trail
Explore
Inspiring mindful adventures in nature sustainably.
Join the wandering Community
© 2024. All rights reserved.
by @wanderingintwo